1.Theme Introduction
Luanda Magazine is a light and multi-functional WordPress theme with a lot of useful features to assist you in building a magazine, newspaper website or a blog. This documentaion will guide you through each step on how to set up your theme.
2.Theme Installation
Download and extract the luandamagazine-package.zip file on your computer.
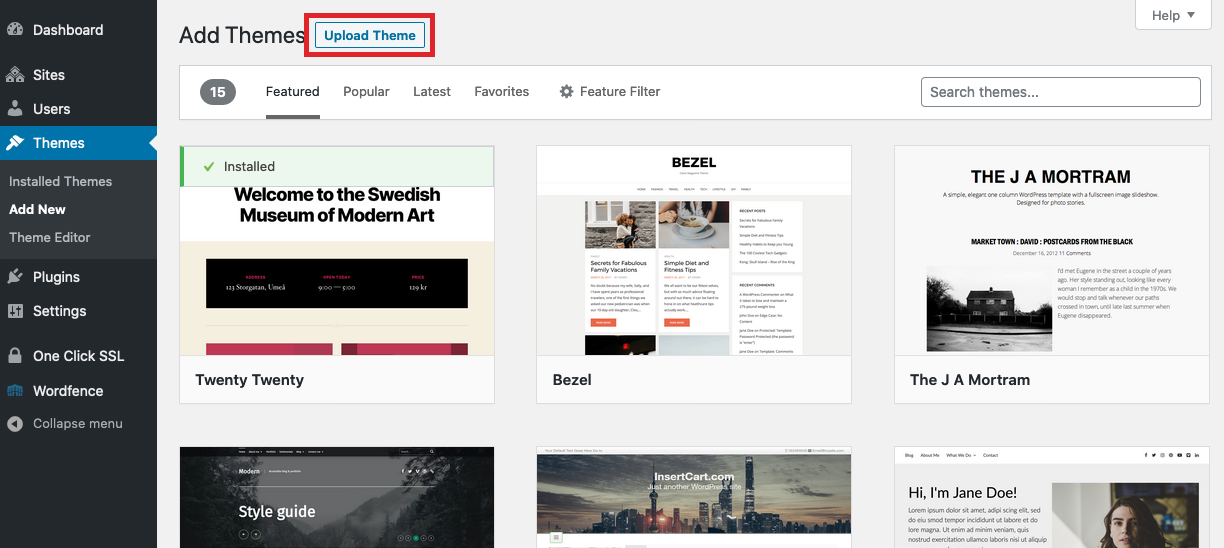
Go to Appearance > Themes > Add New in the WordPress Dashboard.
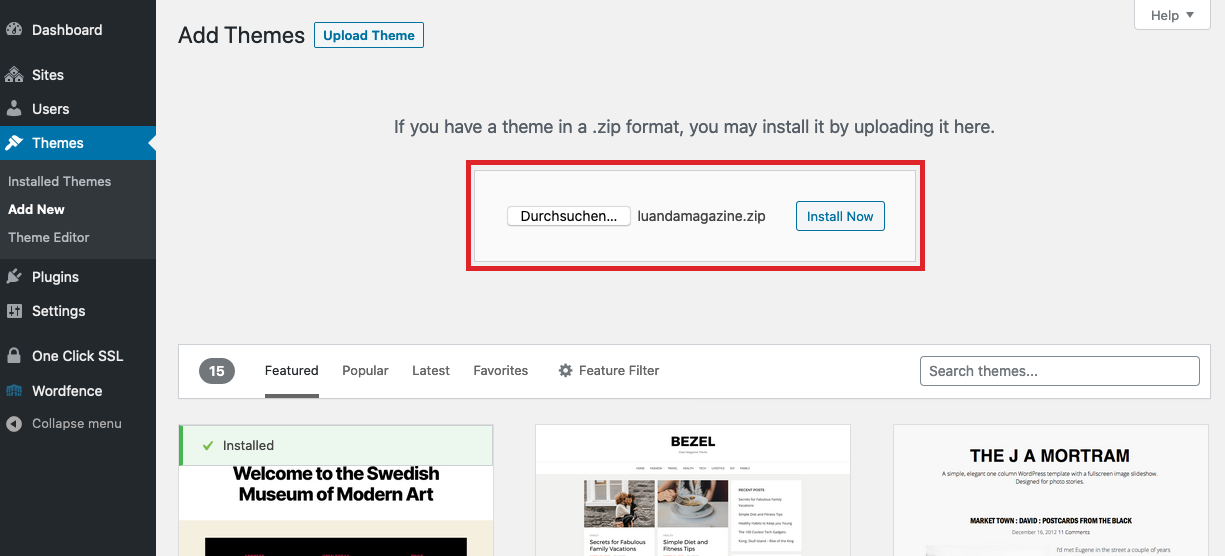
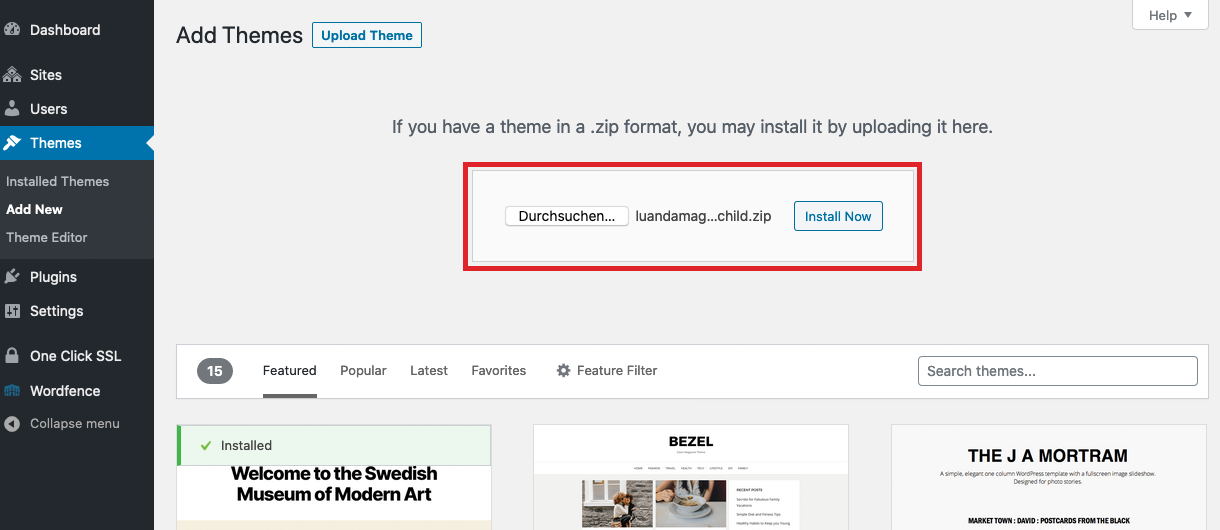
Locate luanda-magazine.zip and luanda-magazine-child.zip on your computer.
Upload and install the .zip files one by one.
Once you upload and install Luanda Magazine and Luanda Magazine child theme, activate the child theme.
General WordPress settings can be found in your dashboard under Appearance.
3. Front Page and Blog Page Setup
This setup applies when the Front Page Template and Posts Page are both active
Front Page
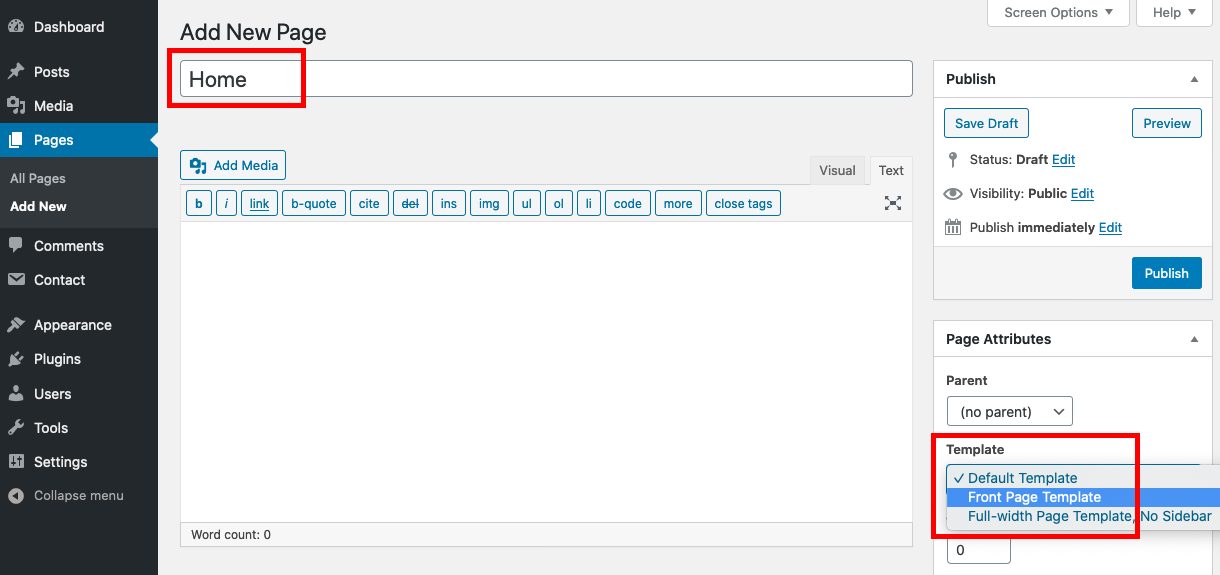
Go to Pages > Add New in the WordPress Dashboard.
Create a new page called “Home” (You can choose another name, e.g. “Magazine”).
Go to Page Attributes and select the Front Page Template. Save your changes.
Blog Page
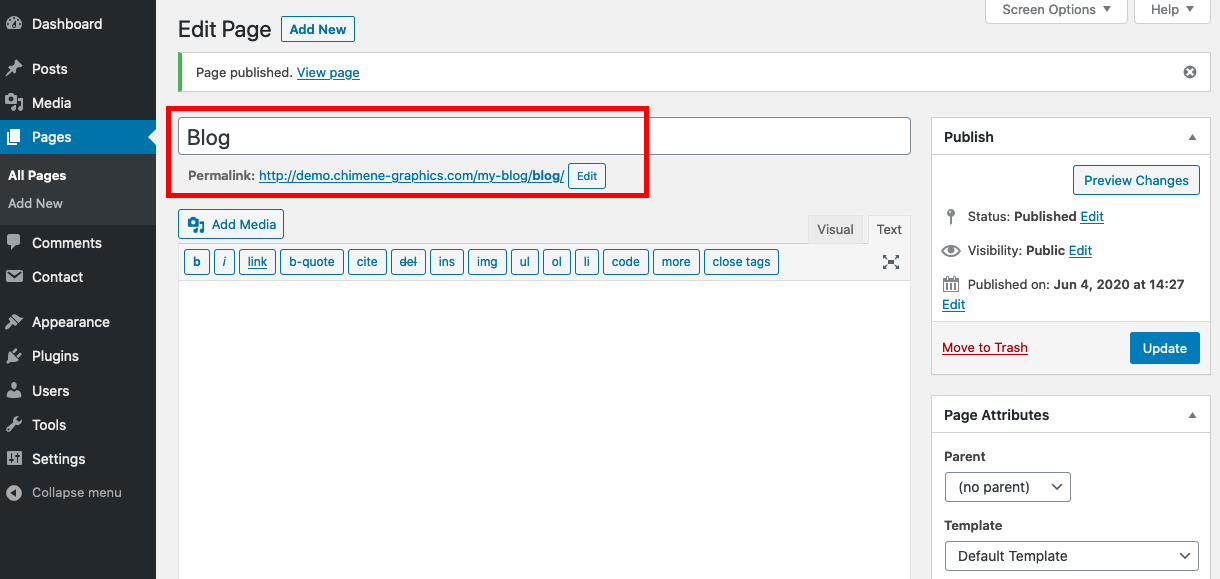
Go to Pages > Add New in the WordPress Dashboard.
Create another new page called “Blog” (You can choose another name, e.g. “News”).
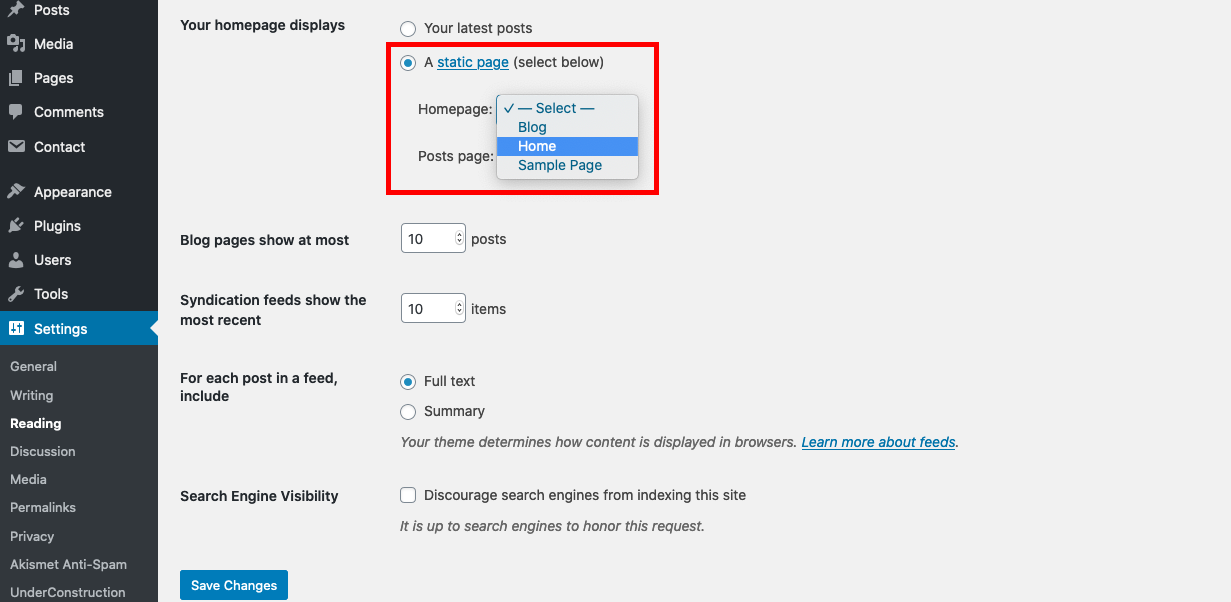
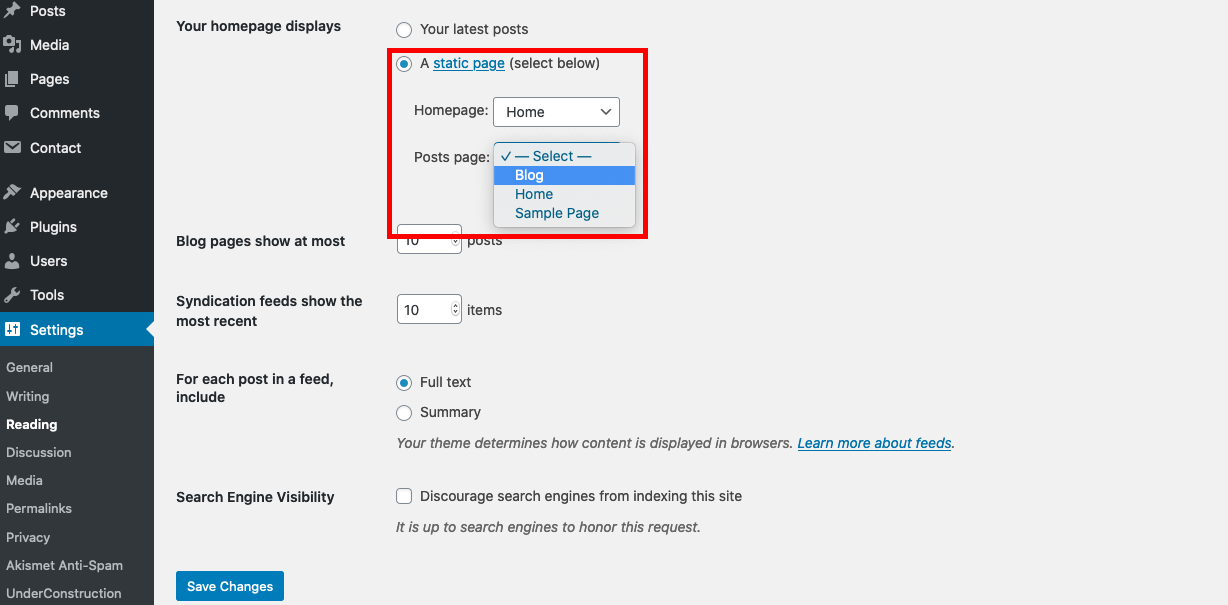
Once the front page and blog page are set up, go to Settings > Reading in the WordPress Dashboard and select “A Static Page”.
For “Homepage” select the page you want your front page to appear on (e.g. “Home”, “Magazine”). The Front Page Template has its own widget area and widgets.
For “Posts page” select the page you want your posts to appear on (e.g. “Blog”, “News”).
The blog page displays all your posts. Featured images dimensions: at least width: 780px and height: 520px.
4. Luanda Magazine Widget Areas
Go to Dashboard > Appearance > Widgets.
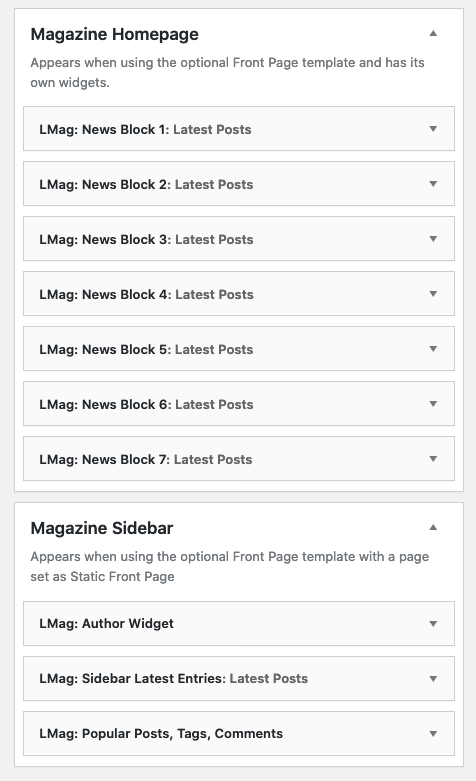
Luanda Magazine theme comes with the following widget area and sidebars:
5. Luanda Magazine Widgets
Go to Dashboard > Appearance > Widgets and add widgets to widget areas.
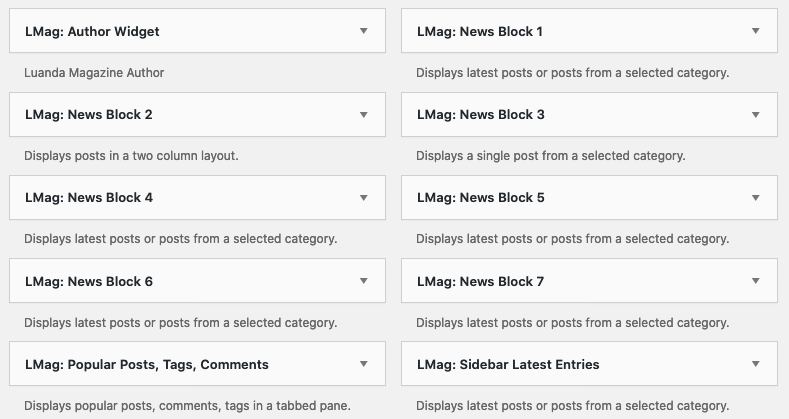
Luanda Magazine theme comes with the following widgets:
News Block 1 – News Block 7 appear on “Magazine Homepage”. “Author Widget”, “Sidebar Latest Entries” and “Popular Posts, Tags, Comments” appear on the “Magazine Sidebar”.
To activate a widget drag it to a sidebar or click on it. To deactivate a widget and delete its settings, drag it back.
6. Create Custom Menus
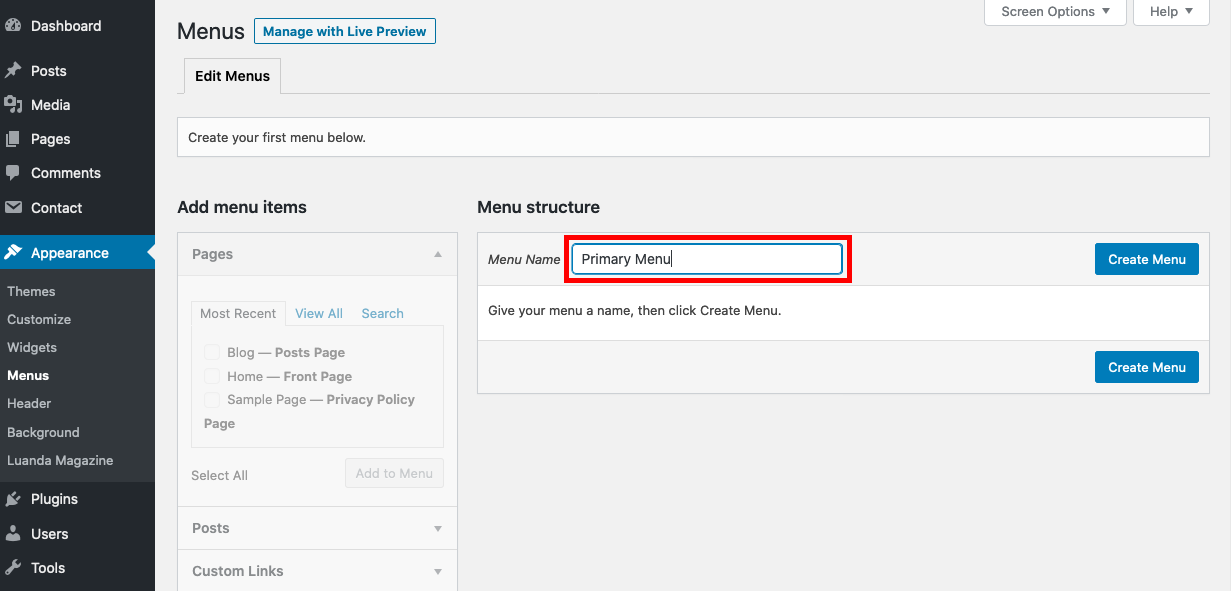
Go to Appearance > Menus > “create a new menu”.
Main and Footer Menu
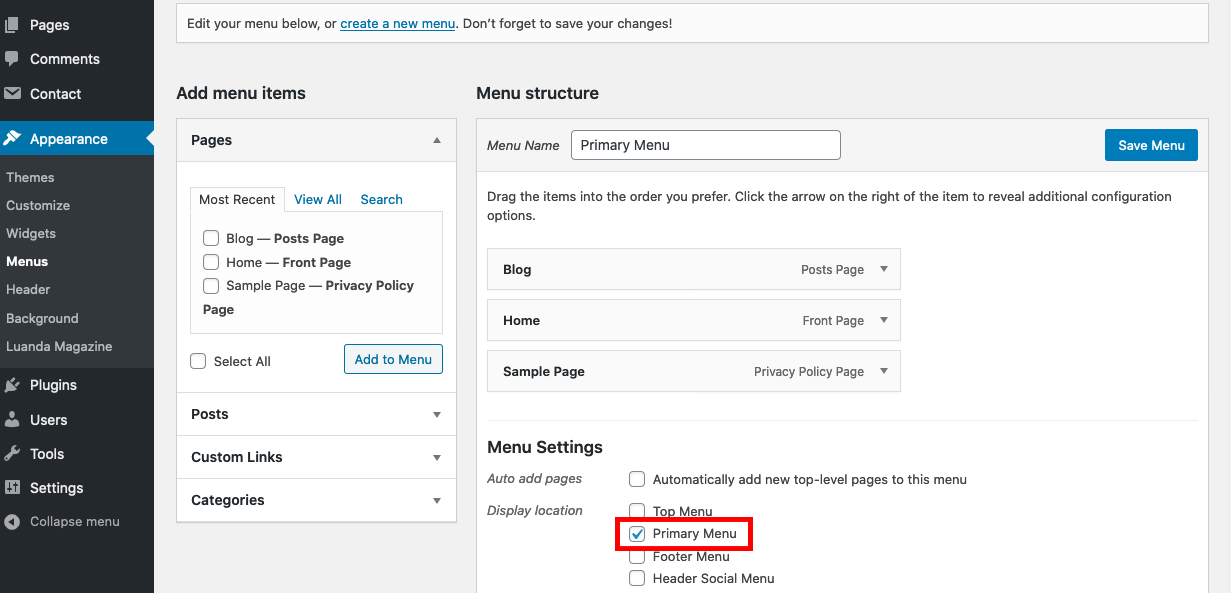
Once you create your custom menu, go to “Menu Settings” and choose the menu location.
Repeat the same steps to create a footer menu.
Social Menu
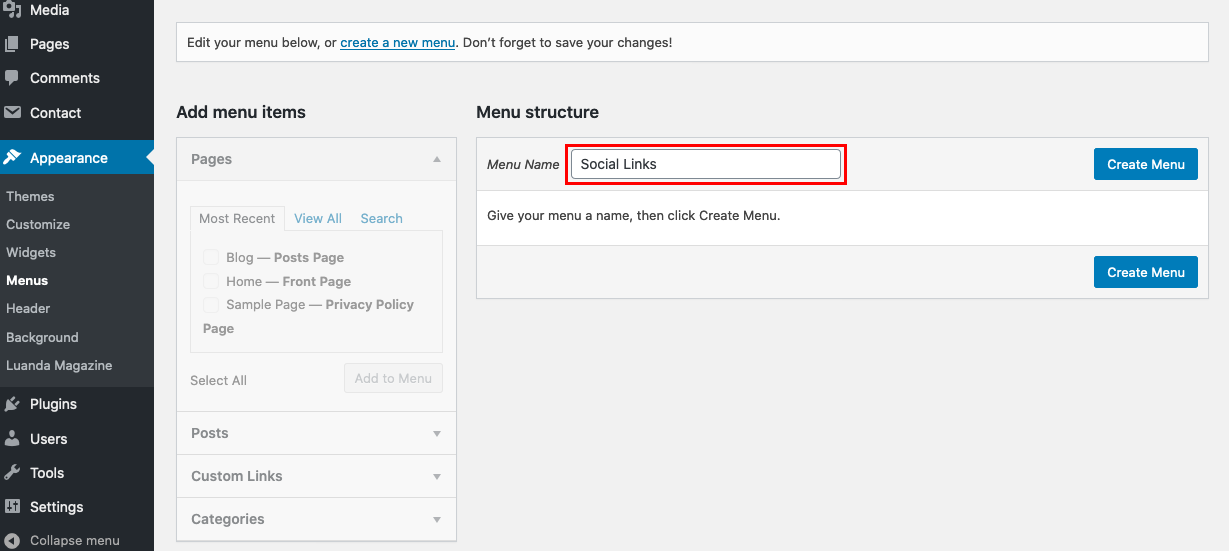
Go to Appearance > Menus > “create a new menu”.
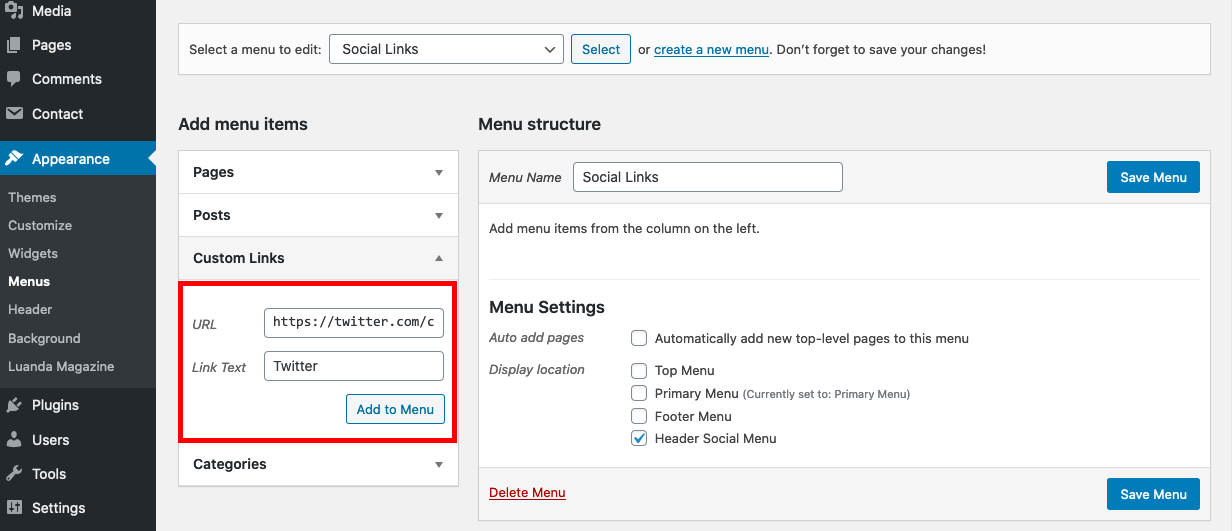
Under “Add menu items”, go to “Custom Links” and add URL + Link Text, hit “Add to Menu”.
Once you create your custom menu, go to “Menu Settings” and choose the menu location “Header Social Menu”.
7. Luanda Magazine Customizer Options
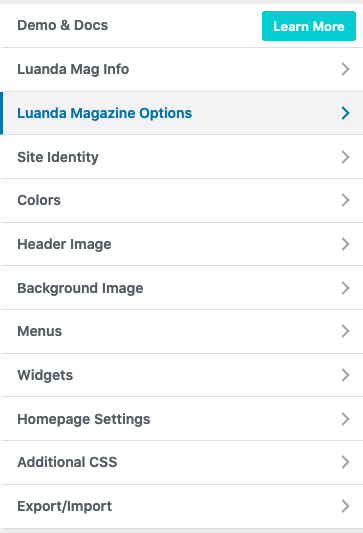
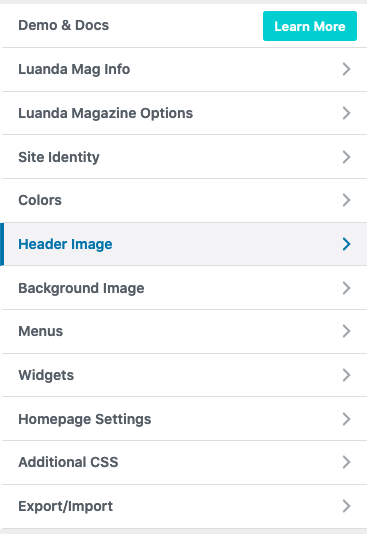
Go to Appearance > Customize > “Luanda Magazine Options”,
Customize and style your theme with the following features:
- Luanda Magazine Options
Logo
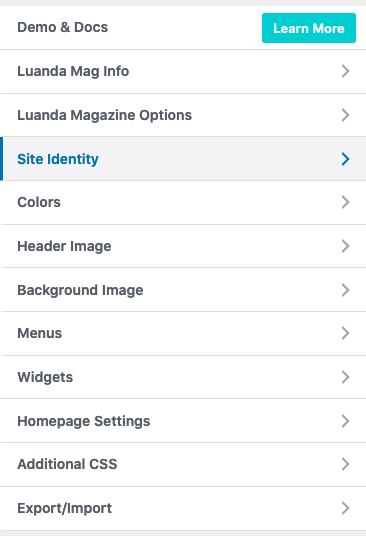
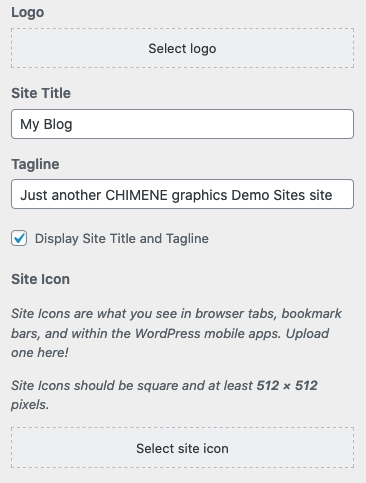
Go to Customize > “Site Identity” and upload your logo and add a site icon that appears in browser tabs.
- Site Identity Customizer Setting
- Upload Logo
Advertising Image
Go to Customize > Luanda Magazine Options > “Header Ad Image” and upload an ad with the dimensions (w)781px x (h)100px.
Header Image
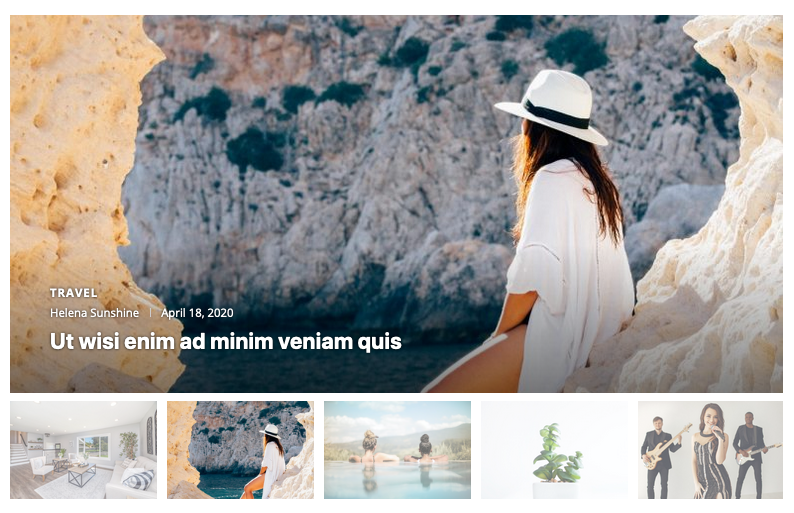
Go to Customize > Header Image and upload the image you want to show on your theme’s header.
Add an internal/external link to your header image or leave blank, which links back to your website.
- Header Image Settings
- Header Image + URL
Top News Block
Got to Customize > Luanda Magazine Options > “Top News Settings” and display three featured posts.

Featured Slider
This feature appears only on the Front Page Template.
Go to Customize > Luanda Magazine Options > Slider Settings and choose the category you wish to display.
8. Styling Tips
Advertising Images between Sections
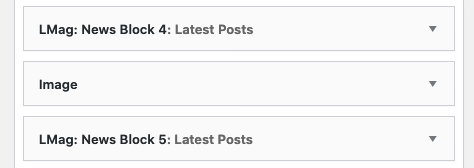
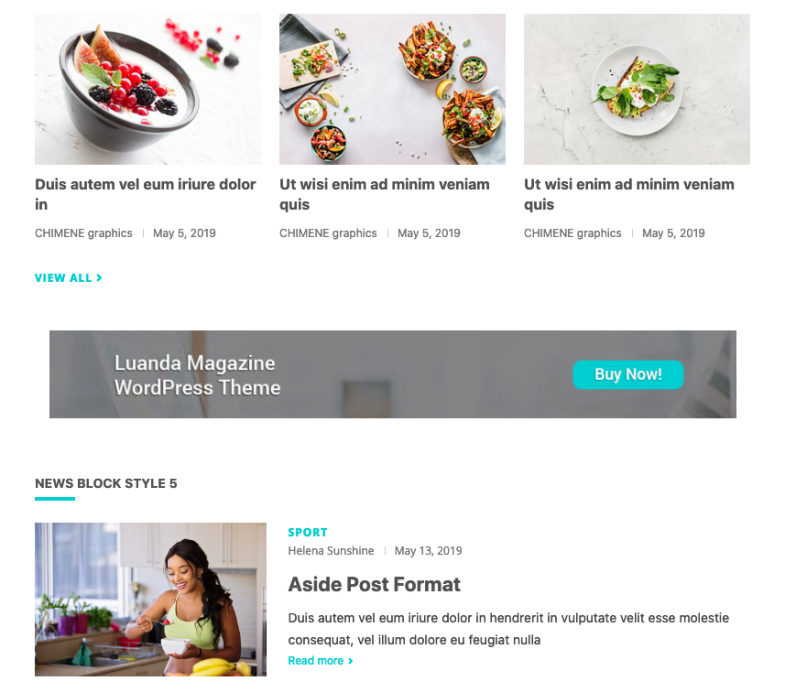
Go to Dashboard > Appearance > Widgets and add “Image widget” to “Magazine Homepage”. Image dimensions: height: 100px and width: 781px
- WP Widget Image
- Display Ad between sections
9.Supported Plugins
Luanda Magazine supports multiple WordPress plugins and works well with the following plugins listed below:
- Regenerate Thumbnails
- Contact Form 7
- WooCommerce
- MC4WP: Mailchimp for WordPress
- Page Builder by SiteOrigin
- Elementor Page Builder
10.How to update your Theme
Via WordPress Dashboard
- Download the latest theme version from the purchase download link you once received.
- In your WordPress dashboard, go to Appearance > Themes and switch to another theme.
- Activate one of the WordPress default themes, e.g. Twenty Nineteen or Twenty Twenty.
- Delete the current version of your theme (NOT the child theme, just the parent theme!)
- In your WordPress dashboard, go to Appearance > Themes > Add New > Upload Theme
- Click the Choose File button, locate your theme’s zip file on your computer and upload it.
- Next, click Install Now and wait for the theme to install.
- Clear site and browser cache to prevent errors

